Step-by-Step Guide to Achieving Brown Chrome Nails

Step-by-Step Guide to Achieving Brown Chrome Nails
I’m excited to guide you through achieving beautiful brown chrome nails! Start by gathering essential tools like brown gel polish and chrome powder. First, prepare your nails by removing old polish and shaping them. Then, apply a quality base coat and let it dry. Choose a brown shade that complements your skin tone, then evenly apply the chrome powder using circular motions. Cure your nails under a UV lamp for the recommended time. After curing, add a top coat for shine and protection. Finish up with cuticle oil, and you’ll have glossy, stunning nails. Interested in perfecting those details?
Essential Tools and Materials

What do you need to achieve those stunning brown chrome nails? First, gather a few essential tools.
You’ll need a base coat to protect your nails and help the polish stick. Next, pick out a rich brown gel polish; it’ll serve as your base color.
A chrome powder is also vital; it gives that dazzling effect we’re after. Don’t forget a sturdy applicator or sponge for applying the chrome powder evenly.
You’ll want a top coat to seal everything in and add shine. Finally, make sure you have some rubbing alcohol handy; it helps with the application process.
With these materials, you’ll be ready to create beautiful brown chrome nails that impress! Let’s plunge into the world of nail artistry!
Preparing Your Nails
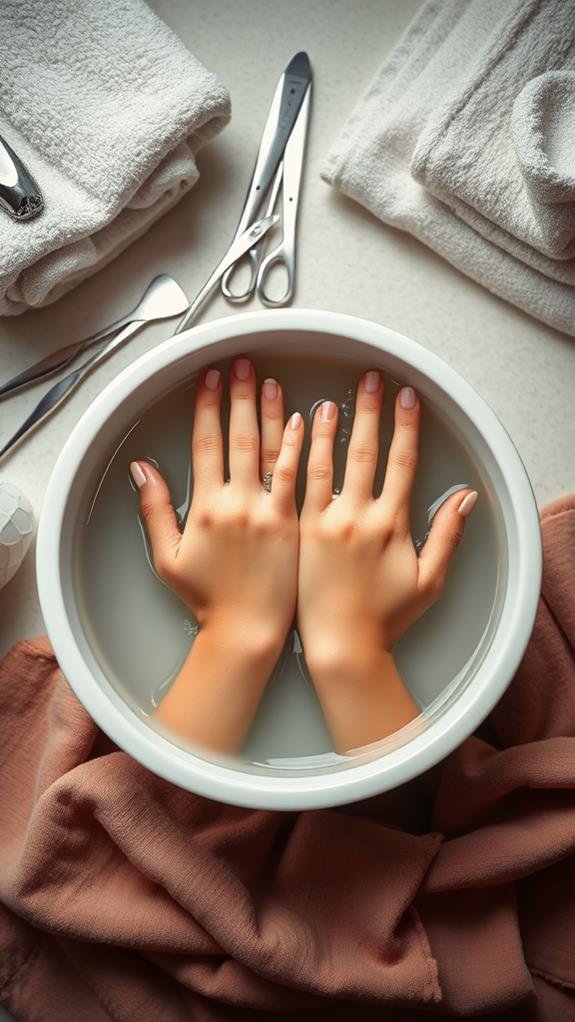
Now that you’ve gathered all your tools and materials, it’s time to prepare your nails for that stunning brown chrome look.
First, I always start by removing any old polish from my nails with a good nail polish remover. It’s important for a clean look!
Next, I gently push back my cuticles using a cuticle pusher. This helps create a neat nail bed.
Then, I file my nails to shape them, keeping them even and smooth. I prefer a square or oval shape, but choose what you love best.
Don’t forget to buff the surface of your nails lightly, as this helps with polish adhesion.
Finally, wash your hands to remove any dust.
Now you’re ready to move on!
Applying Base Coat
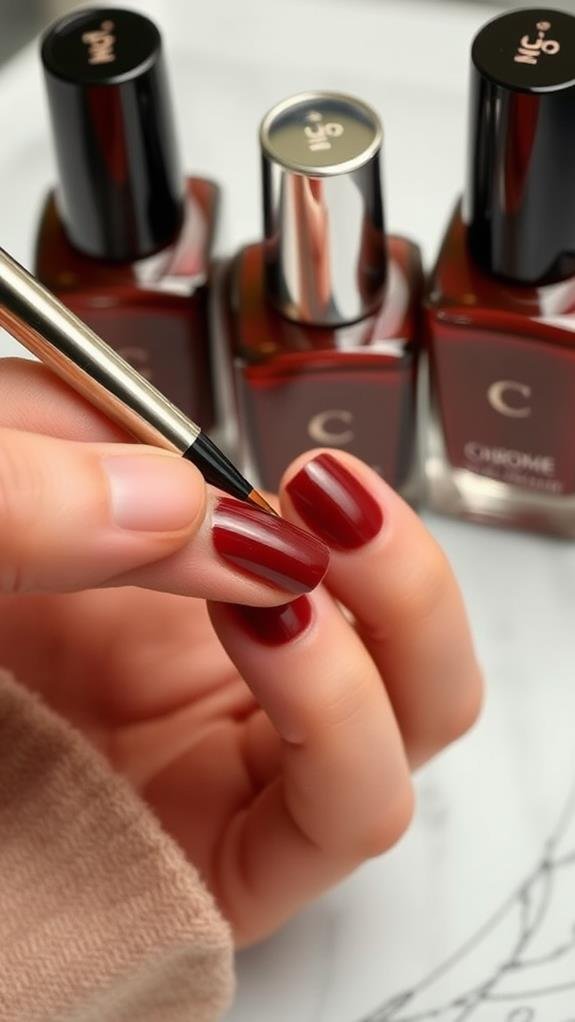
My nails deserve the best protection, so I always start by applying a quality base coat. This step is essential because it creates a smooth surface for the polish, helping it adhere better and last longer.
I choose a base coat that’s specially formulated to strengthen my nails and prevent staining. To apply, I gently brush a thin layer over my nails, being careful to cover the edges. It’s important not to use too much, as a thin layer dries faster and dries evenly.
Once I finish applying the base coat, I wait a few minutes for it to dry completely. This preparation is critical for ensuring my brown chrome nails look fabulous and stay chip-free for days.
Choosing the Right Brown Shade
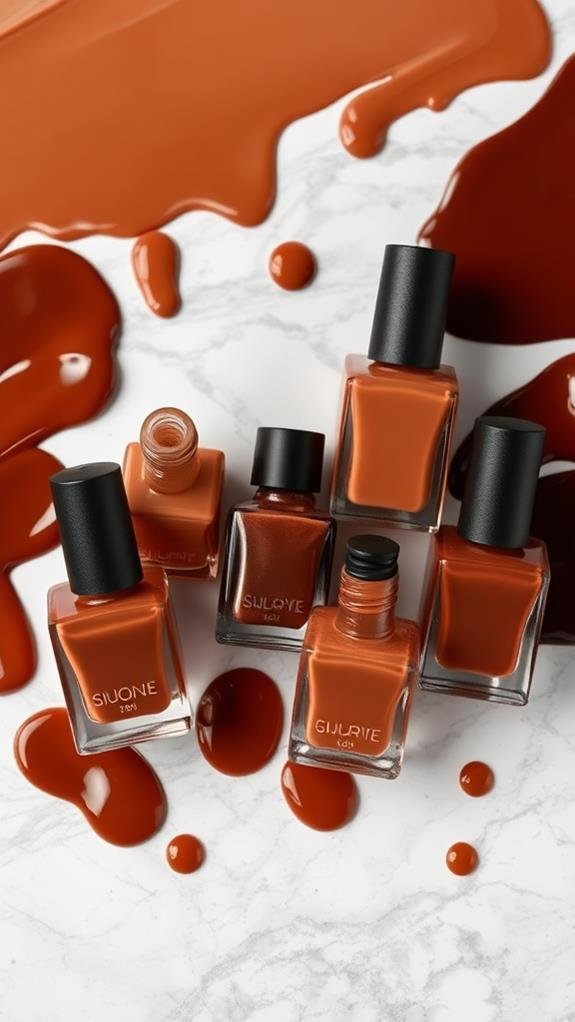
With the base coat set, it’s time to focus on selecting the perfect shade of brown for my chrome nails.
I’ve found that brown shades can vary widely, from rich chocolate to lighter caramel tones. It’s essential to think about the look I want to achieve. For a bold statement, deep, dark browns stand out beautifully.
If I’m going for something softer or more neutral, lighter shades work wonderfully.
I also consider my skin tone; warmer skin tones often pair nicely with reddish browns, while cooler skin tones look great with grayish or taupe shades.
Testing a few swatches on my nails is a great way to see how each shade interacts with my base coat and matches my personal style.
Applying Chrome Powder
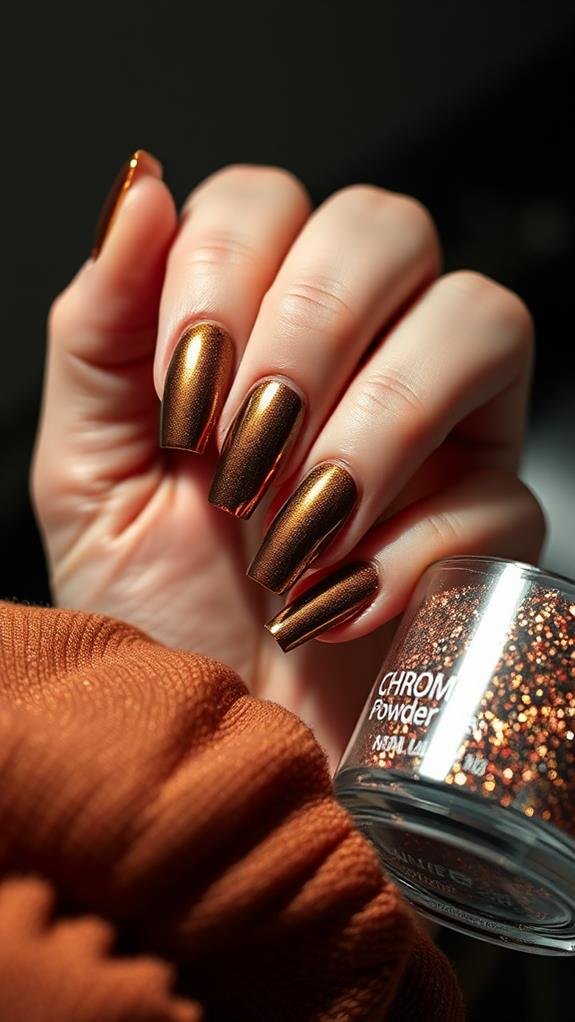
Applying chrome powder is an essential step in achieving that eye-catching finish on my brown chrome nails. First, make sure my base coat is fully dried and my chosen brown polish is in place.
To apply the chrome powder, I take a clean applicator and gently dip it into the powder. Then, using circular motions, I rub the powder onto my nails, ensuring that every area is covered. I focus on the tips and edges, as these often catch the light best.
If I notice any uneven spots, I simply go back and add more powder. After achieving full coverage, I carefully dust off any excess powder, revealing that stunning chrome effect.
Now, my nails are starting to shine!
Curing the Nails
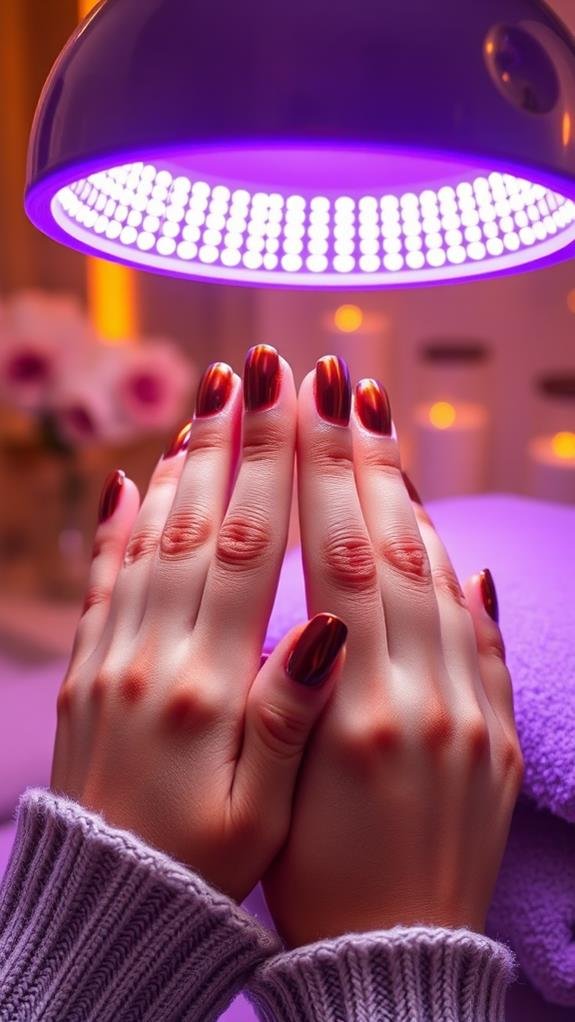
Once the chrome powder is thoroughly applied, it’s time to cure the nails to lock in that stunning finish.
I place my nails under a UV or LED lamp, making sure they’re positioned evenly. The curing process usually takes about 30 to 60 seconds, but I always check the instructions on my polish for specific timing.
It’s essential not to skip this step; curing helps set the chrome and gives it that beautiful glossy look. While curing, I try not to touch any surfaces to prevent smudging my design.
Once time’s up, I gently remove my hands from the lamp. The nails should feel dry and hard to the touch, which means you’re one step closer to rocking those gorgeous brown chrome nails!
Finishing Touches
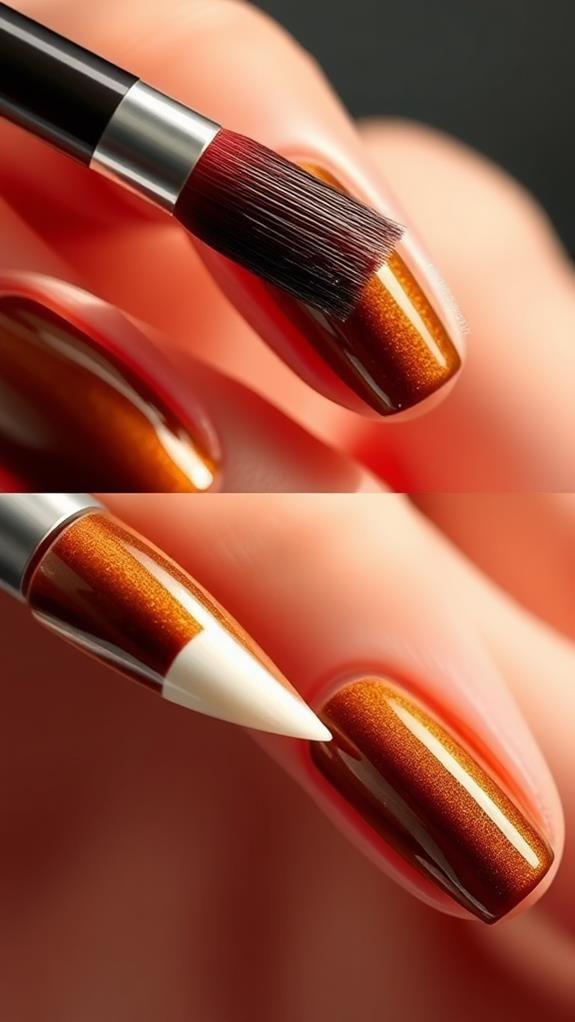
Adding the finishing touches is what truly elevates your brown chrome nails to perfection.
Once your nails are fully cured, I love applying a top coat. This step not only adds extra shine but also helps protect the chrome finish from chipping. I carefully brush the top coat over my nails, making sure to cover every edge.
After that, I gently clean up any polish around my cuticles with a small brush dipped in nail polish remover. For a final touch, I often use cuticle oil to keep my cuticles healthy and nourished.
The moment I step back and admire my work, I can see how these little details make a big difference, creating a gorgeous, polished look!
Aftercare Steps
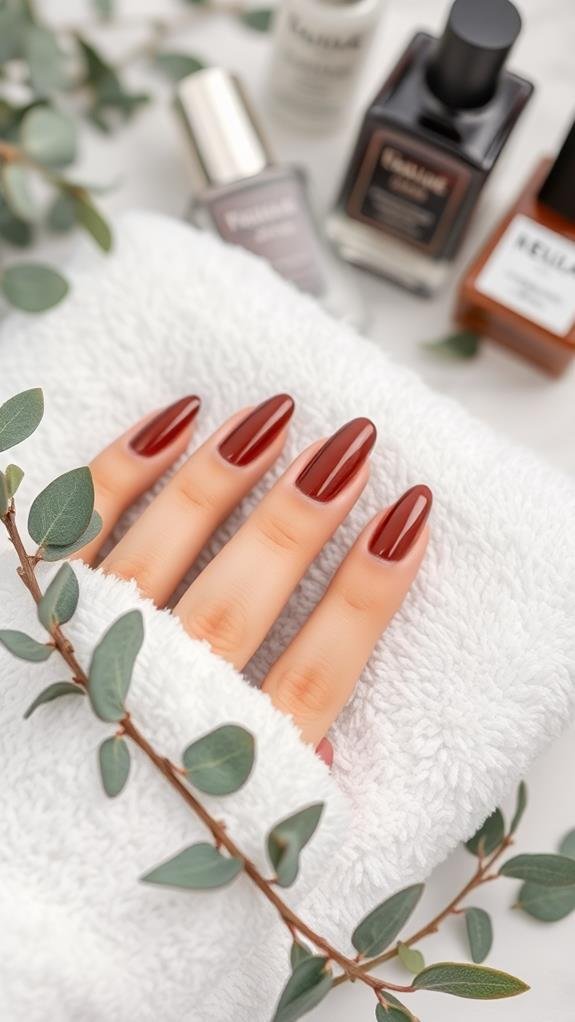
Achieving the perfect brown chrome nails is just the beginning; proper aftercare is essential to maintain their stunning appearance.
First, I always avoid soaking my nails in water for long periods. This helps prevent the polish from chipping or lifting. When washing dishes, I wear gloves to protect my nails from harsh detergents.
Regularly moisturizing my cuticles and nails keeps them healthy and shiny; I love using cuticle oil for this!
Also, I steer clear of using my nails as tools; I treat them like precious gems.
Finally, I schedule regular touch-ups every two to three weeks to keep the color vibrant.
With these simple aftercare steps, my brown chrome nails stay stunning and selfie-ready for longer.
Conclusion
Now that you’ve got the steps to achieve stunning brown chrome nails, you’re ready to give it a try! Remember, practice makes perfect, so don’t be discouraged if it doesn’t turn out exactly how you imagined on your first attempt. Take your time, enjoy the process, and soon you’ll be showing off your fabulous nails to everyone. With a little patience and creativity, you’ll master this look and feel confident rocking it every day! Happy polishing!
