Step-by-Step Guide to Creating a Classic Bun

Step-by-Step Guide to Creating a Classic Bun
To create a classic bun, gather your tools first: hair ties, bobby pins, hairspray, a brush or comb, and optionally, a hair donut. Start with clean, dry hair; detangle using a wide-tooth comb. Next, form a ponytail at your preferred height, securing it tightly with a hair tie. Twist the ponytail and wrap it around its base to form the bun, pinning it with bobby pins for security. For extra hold, use a hairnet and mist with hairspray. You can customize the look by adding accessories or varying bun height. There’s much more you can investigate for styling options.
Key Takeaways
-
Start with clean, detangled hair; use a wide-tooth comb for minimal breakage and ensure hair is dry before styling.
-
Gather your hair into a high or low ponytail and secure it tightly with a hair tie for stability.
-
Twist the ponytail and wrap it around the base to form the bun shape, then secure it with bobby pins.
-
Use multiple hair ties and bobby pins from different angles to enhance the bun’s security and hold stray hairs.
-
Finish with a light mist of hairspray to secure the style and combat humidity throughout the day.
Tools You Will Need

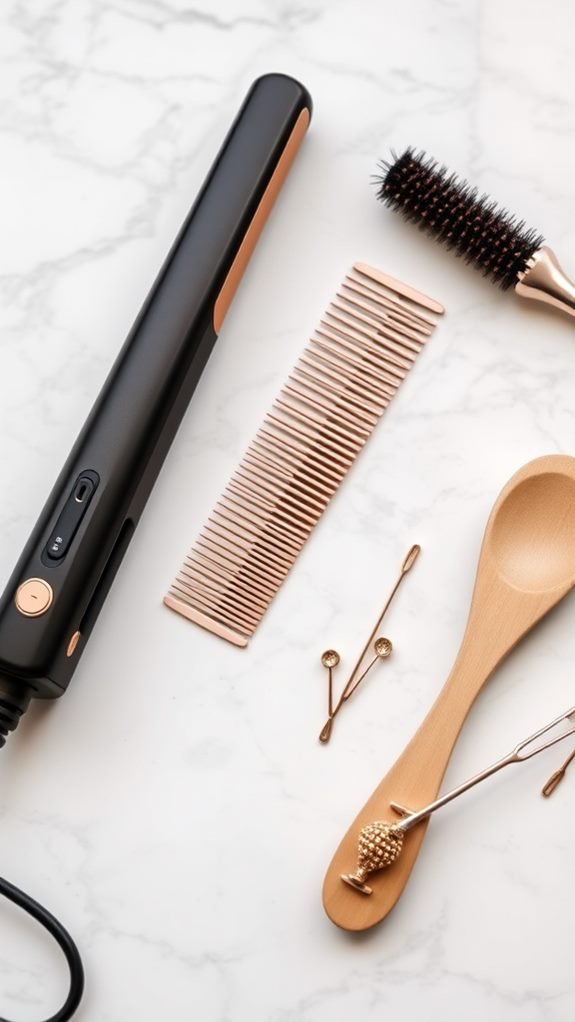
To create the perfect classic bun, you’ll need a few essential tools at your fingertips. Here’s what you should gather:
-
Hair Ties: Choose elastic bands that match your hair color for a seamless look.
-
Bobby Pins: Grab a handful of these to secure the bun in place; U-shaped pins often hold better.
-
Hairspray: A firm-hold hairspray helps maintain the style throughout the day.
-
Brush or Comb: Use a brush to smooth your hair and remove any tangles.
-
Hair Donut (optional): A hair donut will give your bun added volume and a more polished appearance.
Having these tools ready will make the process easier and guarantee you achieve a sleek, elegant classic bun.
Preparing Your Hair

Before you start styling your classic bun, prepping your hair is key to achieving the best results. Here’s how to prepare effectively:
-
Clean Your Hair: Wash your hair to remove dirt and products. Use a lightweight shampoo and conditioner.
-
Detangle: While your hair is damp, gently comb through it using a wide-tooth comb to avoid breakage.
-
Drying: Let your hair air dry for a natural texture, or blow-dry it using a medium heat setting. Over-drying can lead to frizz.
-
Add Texture: Apply a leave-in conditioner or a light mousse for added grip.
-
Check for Damage: Inspect your hair for split ends, and trim them if necessary.
With these steps, your hair will be ready for a flawless classic bun!
Step-by-Step Technique

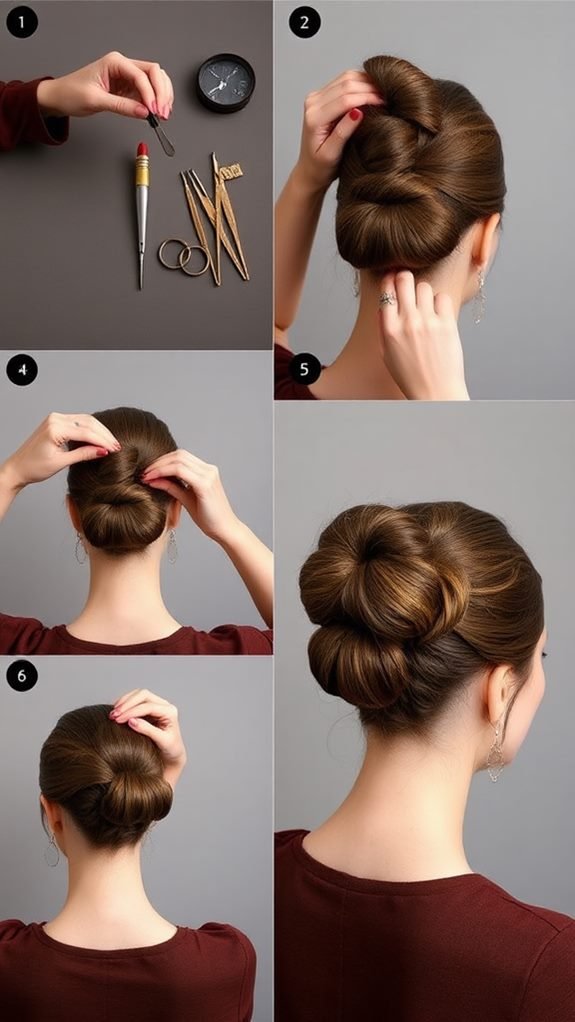
When you’re ready to style your classic bun, following a clear step-by-step technique will help guarantee a polished look.
Start by gathering a hairbrush, a hair tie, and optional bobby pins.
- Brush your hair smoothly to eliminate tangles.
- Pull your hair into a high or low ponytail, depending on your preference.
- Secure the ponytail with a hair tie, ensuring it’s tight enough to hold.
- Twist the ponytail around itself, forming a bun shape.
- Wrap the twisted hair against the base of the ponytail.
- Secure your bun with bobby pins, placing them strategically for stability.
- Adjust any loose strands for a neat finish.
Following these steps will help you achieve a stylish, classic bun effortlessly.
Securing the Bun

How can you guarantee your bun stays secure throughout the day? Follow these steps to keep your hairstyle intact:
-
Use Sufficient Hair Ties: Opt for at least two or three elastic bands. This extra grip helps hold your bun firmly.
-
Incorporate Bobby Pins: Once your bun is formed, tuck in stray hairs with bobby pins. Pinning the bun from different angles provides added security.
-
Consider a Hairnet: For long-lasting hold, wrap your bun with a lightweight hairnet. This keeps the style neat and prevents slipping.
-
Finish with Hairspray: A light mist of hairspray helps keep everything in place, providing a barrier against humidity.
Following these steps assures your bun will remain beautiful and secure throughout your day.
Styling Tips and Variations

The classic bun isn’t just a simple hairstyle; it offers endless possibilities for personalization and flair. To enhance your look, consider these styling tips:
-
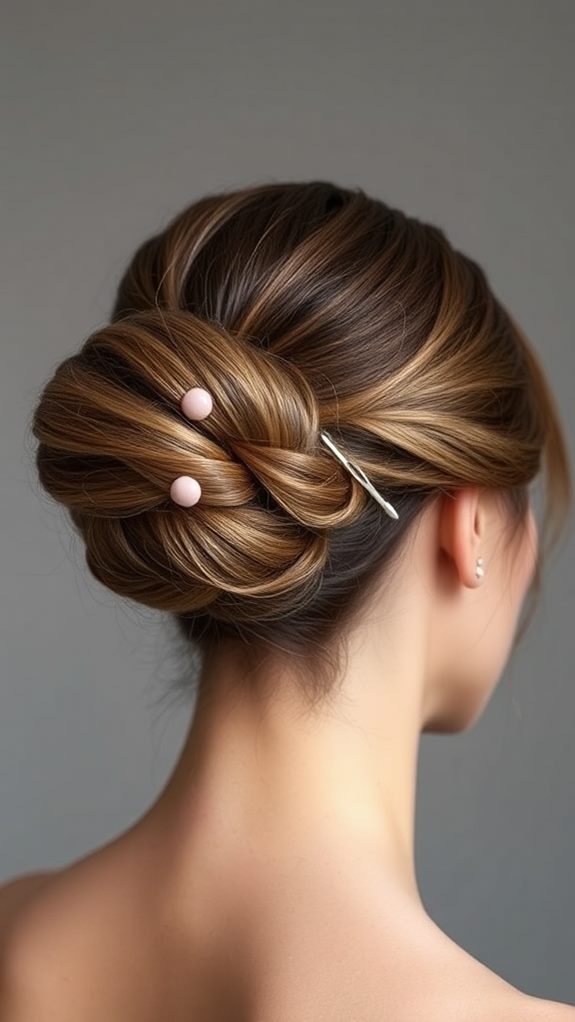
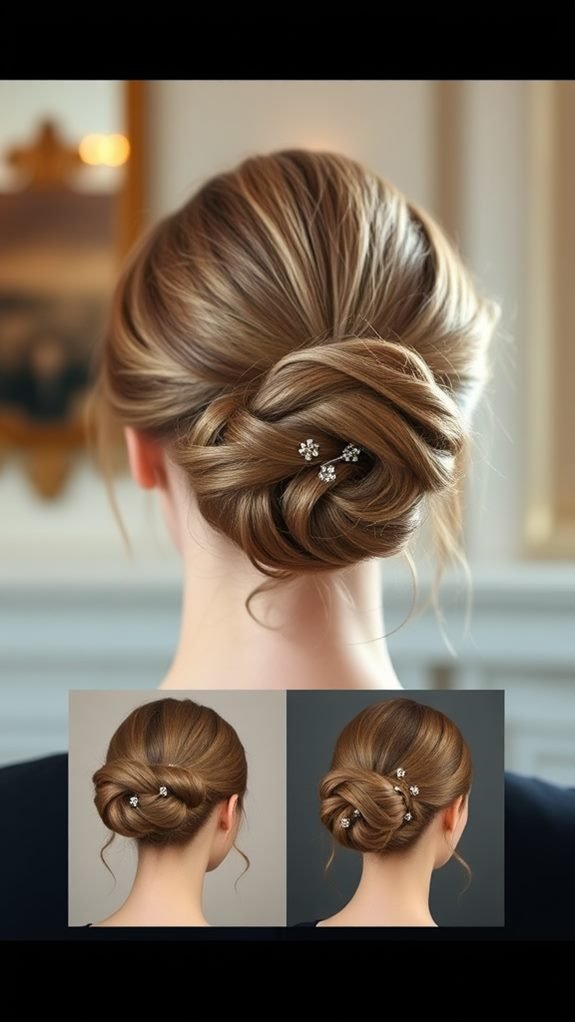
Accessorize: Use decorative pins, flowers, or headbands to add a touch of elegance.
-
Texture: Experiment with different textures by adding waves or curls before styling your hair into a bun.
-
Height Variation: Vary the height of your bun—low for a sleek look, or high for an edgy vibe.
-
Messy vs. Neat: Choose between a neat, polished bun or a relaxed, messy style depending on the occasion.
With these variations, you can make the classic bun distinctly yours, ensuring it complements your outfit and suits your personal style effortlessly.
